

Boiling an egg is the simplest recipe in the world, right? All you need is an egg and a pot of hot water. Ah, if only it were that simple.
Professional and amateur chefs have been arguing about the perfect hard-boiling method for millennia, with some saying you need to start with cold water, others saying you need salt, or vinegar, or baking soda, or pressure cookers, or steamers.
It doesn't need to be that complicated.
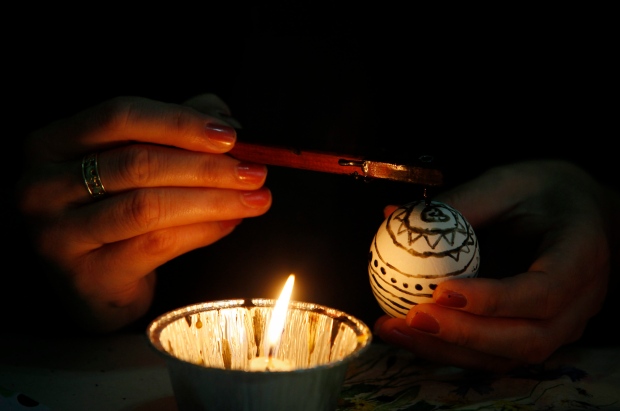
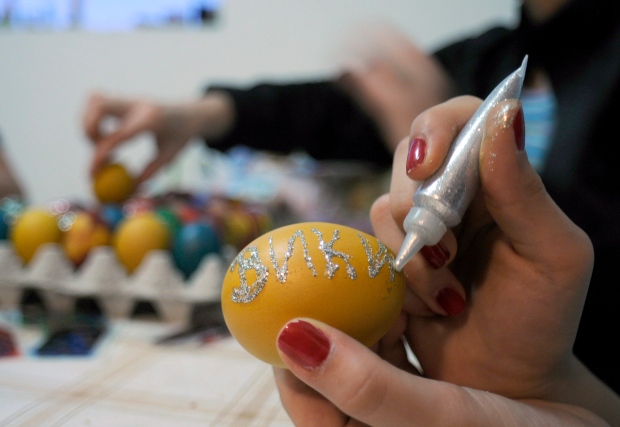
If you're planning to boil up a few eggs this weekend to decorate for Easter and would still like to eat them afterward, here is the method that science has come up with for perfect, peelable hard-boiled eggs.
Start with an older egg
The first step is to start with an older egg. Fresh eggs from the farmers' market are great and hold together nicely for poaching, but when it comes to hard-boiling, it's slightly dried-out eggs you want.
That's because the older the egg, the more easily it will peel, according to the Egg Farmers of Canada. It seems that as an egg ages, the membrane beneath the shell separates from the shell, which is what makes peeling the egg easier.
So ideally, you want to start with eggs that have been sitting in the fridge for about a week or more. (Eggs typically have a best before date of 35 days after packaging.)
A hot start
This is where things get contentious.
Many will say that the way to boil eggs is by pouring cold water over them in a pot, bringing them to a boil, and timing from there. But self-taught chef and food scientist Kenji Lopez-Alt says that's all wrong.
Lopez-Alt, who studied biology (and architecture) at MIT before dedicating his life to food, has made a career of exhaustively testing everything that chefs take for granted, looking at things at the molecular level to find the ideal methods. He has literally boiled thousands of eggs for his website and book, "Serious Eats," trying to find the perfect hard-boiled egg.
He's concluded that "more than any other factor," the thing that makes the most difference in perfectly cooked eggs that peel from their shells easily is starting with boiling water.
Lopez-Alt's method is to bring a pot to boil, carefully lower the eggs in with a slotted spoon, let them boil for just 30 seconds and then turn them down to barely a simmer. Set the timer for 11 minutes and you'll end up with eggs that are not undercooked but not rubbery and dry.
Cold-water rinse
The next step is just as important.
Once your timer dings, pull the eggs out and plunge them into cold water to stop the cooking. That cooling process allows for easier peeling because the inside of the egg will shrink faster than the shell, so the membrane doesn't stick as much.
The quick cool also helps to prevent that icky, green film on the yolk. That green, according to Nature SciBytes, is iron sulfide. It's caused by a reaction between iron ions in the yolk and hydrogen sulfide gas that forms in the egg white when it's heated.
Even though the green iron sulfide looks awful, it's safe to eat. But the way to avoid it is to sink the eggs into cold water after cooking.
And one more advantage of the quick cool: it helps to prevent the dimple on the fat end of the egg left over by the air space, says Lopez-Alt.
Leave the eggs in the cold water for at least 15 minutes before peeling, and preferably in the fridge overnight. Crack them all over and peel them in a bowl of water.
That's it. Simple but precise.
A few words on egg safety
Every year around this time, the Public Health Agency of Canada sends out a friendly reminder that if decorating eggs is part of your family's Easter celebrations, to remember a few important handling tips.
Decorated eggs should never be left out of a refrigerator for longer than two hours. After that, they might not be safe to eat and should be thrown away.
And if you like to hollow out eggs by blowing the egg out through holes in the shell, be sure to wash the eggs in hot water first to ensure there are no dangerous bacteria on the shells.
Refrigerate the uncooked egg contents and use them within four days, or freeze them for up to four months.


